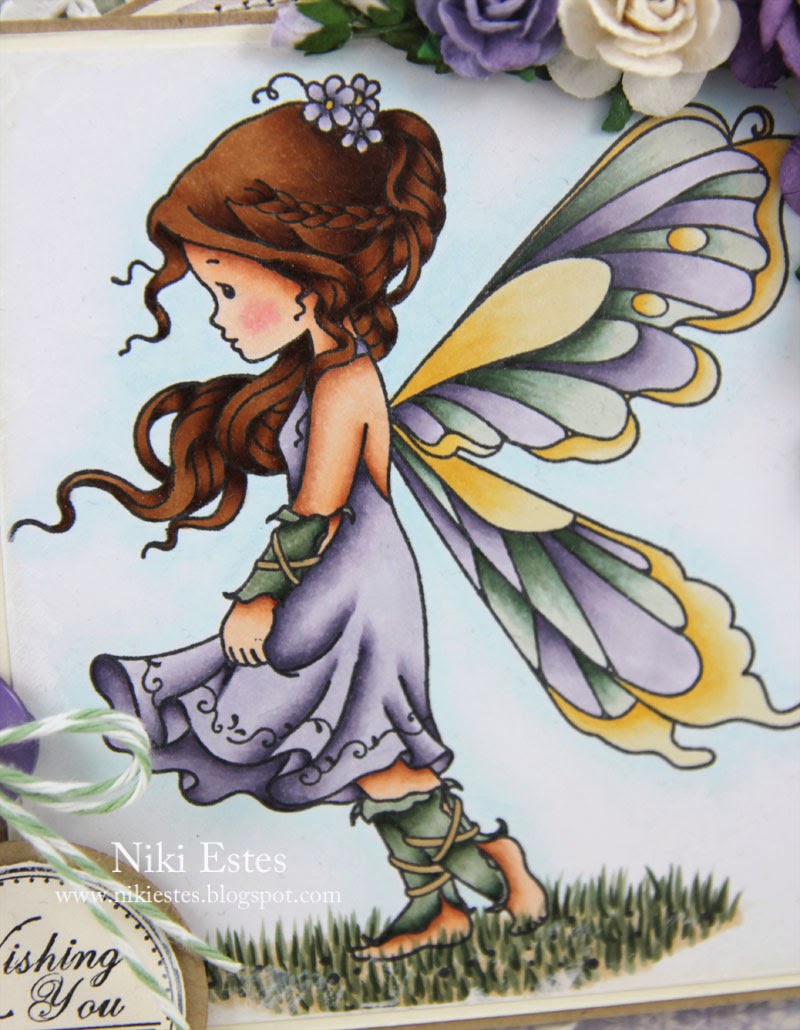
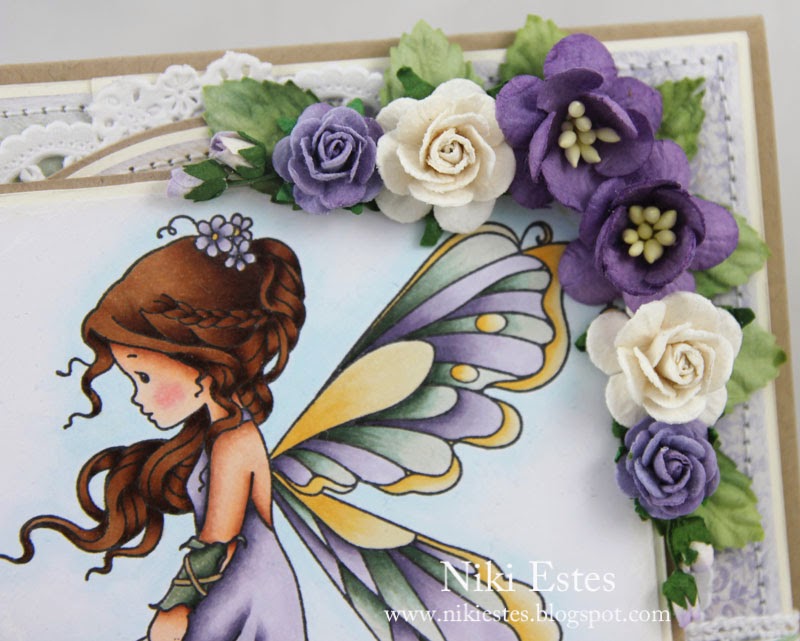
Guess what my husband brought out of storage for me? My craft desk! I'm going to be busy this week purging supplies I don't need anymore and organizing everything. I'm really excited to have it back!
Sunday, January 11, 2015
Monday, October 20, 2014
Dreaming of a White Christmas
Hi Everyone! Hope you are all having a great Fall! I think Christmas will be here before we know it! Still working on my husband to get my craft desk back. (Things have been really busy.) I do, however, have another card to share with you! :)
I used the adorable Teddy with Robin image from Lili of the Valley on my card. I paired it with some patterned papers from Maja Design's It's Christmas Time line and added some flowers and gold filigree corners from Wild Orchid Crafts. The leaves are some old ones I had in my stash from Prima, I think.
I colored the image with copic markers and added some glitter to my snow after I was done coloring. The sentiment is from the Christmas Grungy Sentiments set.
I used another piece of pattern paper from Maja Designs for the inside of my card and kept it nice and simple. I'm playing along with Lili of the Valley's current challenge which is Anything Goes.
Have a wonderful week! Thanks so much for stopping by!
Niki :)
Monday, October 6, 2014
new blog banner
I don't have a new card to share, but I thought I would share anyway. I wasn't happy with my blog name because I wanted it to incorporate a love of lots of different crafts. I haven't really shared much besides cards on my blog, but I do enjoy other crafts as well. I settled on the title "Happy Crafter's Cottage." So, I needed a new blog banner. I picked out some of my favorite cards and created this:
(You can see the full image on my blog.) I think it will work for now at least. Sorting through card photos really made me want to make cards again more. I was thinking today that I need to convince my husband to bring my craft desk back from storage. lol
Happy Crafting!
Niki
Friday, October 3, 2014
moments filled with wonder
The metal filigree corner was originally silver. I embossed it using some Frantage from Stupendous. It's a thick embossing powder with some glitter in it. I simply dabbed my filigree corner on an embossing pad and then in the embossing powder. I heated the filigree corner (held with craft tweezers) from underneath so that the embossing powder did not blow away before it melted.
Niki :)
Thursday, July 24, 2014
more bags
I am back again, but to share something this time instead of pestering you all for ideas. :) I finished the bags for my older children last week, but didn't get a chance to take photos. They had to use them right away so they aren't quite as crisp as they were when I finished them, but they are being put lovingly to use and that's more important any way.
My daughter chose a pretty pink fabric for the handles and lining and a burgundy floral pattern with some pretty pink flowers for the outside fabric. I used Amy's Easy Fat Quarter Bag tutorial again for both bags.
It's hard to believe she is 8 already. She's my tomboy who still loves pink and some girly things, but she can definitely keep up with the boys. I guess that comes from being surrounded by brothers. Although I've never really been too girly and I have 3 sisters. So, who knows . . .
My oldest son loves ambulances, fire trucks, police cards, helicopters, etc. Pretty much anything with flashing lights and sirens. This fabric I found was perfect for him. We paired it with a navy blue for the straps and the lining is the same as the outer fabric.
He's already 10 years old and growing up so quickly. He was still excited about his bag, though. I love seeing how they are all excited to use them.
J had to sneak in the photo with his bag again so he wouldn't feel left out. lol
And Baby T had to help with photos again, too. Not sure what it is about hanging the bags on a door knob to snap a photo of them, but it makes them irresistible. :)
Hope you all have a great weekend! We are off to go camping!
Niki
Wednesday, July 16, 2014
new love
I went to an estate sale recently and came across an antique sewing machine. I didn't really know anything about it so I came home and researched it a little bit. It turns out the machine was a Singer Featherweight 221. It seemed to be in pretty good condition. So, I went back up to the estate sale and talked to the family more about it. The owner's kids told me they only ever remembered her using it 4 times. Long story short, it came home with me that day.
Isn't it so pretty!?!? It's in beautiful shape. It has a few light scratches, but nothing too major. The decals are all pretty sharp with only a light rub in one spot. My husband oiled it, polished it, and checked the wiring. I got a kit from April 1930's to give it a tune up. I researched the serial number and it was made in February 1952.
Yesterday, I figured out how to thread the top stitched and the fill the bobbin. I also figured out how to adjust the tension on the bobbin and the machine. It's all a learning experience for me because I haven't sewn that much before except on cards.
I've been wanting to do some sewing and learn how to quilt for quite a while now. Finding this beauty was just the push I needed. I took my kiddos to the fabric store last week and they each picked out a couple fat quarters to create some bags and some other fabric for pillowcases. They want to learn, too, especially my daughter so I thought pillowcases would be a good place to start.
Today, I sewed my first project on the machine. It sews like a dream! I'm a perfectionist and a novice when it comes to sewing so I love that I can control the speed so easily. I've never used my larger machine that much because it sews too quickly for me. I used Amy's Easy Fat Quarter Bag Tutorial to create this bag with some fat quarters my middle son chose at the fabric store. Her tutorial was really easy to follow and I love how it turned out!
This was the fabric that J picked. I tried to talk him into another color/design for the inside, but he loved the green and that's all he wanted. :)
(He's getting to be such a big boy. We celebrated his 4th birthday the end of June. Where does time go?! He is seriously one of the sweetest little boys ever.)
I think he really likes it. lol It's filled with trains now and the older two are anxiously awaiting their bags. I wasn't able to get started on their bags. I had a little one needing me.
The littlest one really wanted to help when I was taking a few photos. He reallllly wanted that bag! He's crawling and standing by things and into everything! lol It's amazing how quickly they grow and change.
I love his little pudgy legs and arms. It's so cute seeing a tiny, little person standing up and he's so proud of himself.
I may be a tad more than impartial, but that little adorable face just makes me happy. He is such a cutie and such a blessing (like all of our children have been). I'm really trying to soak in every minute of the baby years. They go by so quickly.
Have a great week!
Niki
Thursday, March 13, 2014
happiness in the little things
Hi Everyone! Thanks so much for your sweet comments about the last card I posted. I love hearing from all of you! I'm back to share another card today. We've been passing around lots of fun germs in our house so I'm a little later than planned getting this up.
For this card, I used the pretty Miss Mary Contrary image from illustrator Elisabeth Bell (available through Whimsy Stamps). I used some papers from Maja Designs. (Love their papers!)
I colored the image with copic markers. After assembling my card, I added lots of flowers from Wild Orchid Crafts. The vine/leaf die under the flowers is the Vine Die set.
I used a sentiment from the Magical Mini Letter Seals sentiment set. I use this set so much!
I've been gathering ideas for homeschooling my preschooler. Anyone have any great sites or insight to share?
Hope you all have a wonderful weekend!
Niki
Subscribe to:
Posts (Atom)